Cross stitch is a versatile and rewarding craft that can be enjoyed by people of all ages and skill levels. With a little planning and preparation, you can create beautiful and personalized cross stitch patterns from your own photos. Whether you’re a seasoned cross stitch enthusiast or a beginner looking to try something new, turning a photo into a cross stitch pattern can be a fun and fulfilling project.
Is Choosing the Right Photo Important?
Turning a photo into a cross stitch pattern begins with selecting the right image. The ideal photo for this purpose should meet specific criteria to ensure the best results.
High-resolution
High-resolution photos are essential for capturing intricate details in your cross stitch pattern. When choosing a photo, opt for images with a higher pixel count to ensure clarity and precision in your final design.
Well-lit and Simple
Select a well-lit photo with good contrast to make it easier to discern details when creating your pattern. Additionally, aim for a simple composition with minimal intricate details, as this will simplify the process of translating the image into a cross stitch pattern.
To illustrate the importance of these criteria, consider the following table:
| Criteria | Importance |
|---|---|
| High-resolution | Essential |
| Well-lit | Important |
| Simple composition | Helpful |
When considering potential photos, keep these factors in mind to ensure the best possible outcome for your cross stitch pattern.
Can You Resize and Convert Your Photo?
Once you’ve chosen a suitable photo, the next step involves resizing and converting it into a format conducive to creating a cross stitch pattern.
Resizing the Photo
Using photo editing software such as Photoshop or GIMP, resize the photo to your desired dimensions and resolution. A recommended starting point is a resolution of 100 stitches per inch. This ensures that the details in your photo are accurately translated into your cross stitch pattern.
After resizing, the photo needs to be converted into a black and white image. This can be achieved using the Desaturate or Grayscale command in your chosen photo editing software.

Creating a Color Palette
With your black-and-white image prepared, the next step is to create a color palette for your cross-stitch pattern. This involves identifying the different shades present in the grayscale image and assigning corresponding thread colors to each shade.
Creating a color palette can be done manually by visually inspecting the grayscale image and selecting appropriate thread colors. Alternatively, there are online tools and software programs available that can assist in generating a color palette based on the grayscale image.
Consider the following list of popular software programs and online tools for creating color palettes:
- Adobe Color CC;
- Coolors;
- Palette Generator.
These resources can streamline the process of identifying and selecting thread colors for your cross-stitch pattern, saving you time and effort.
Generating the Cross Stitch Chart
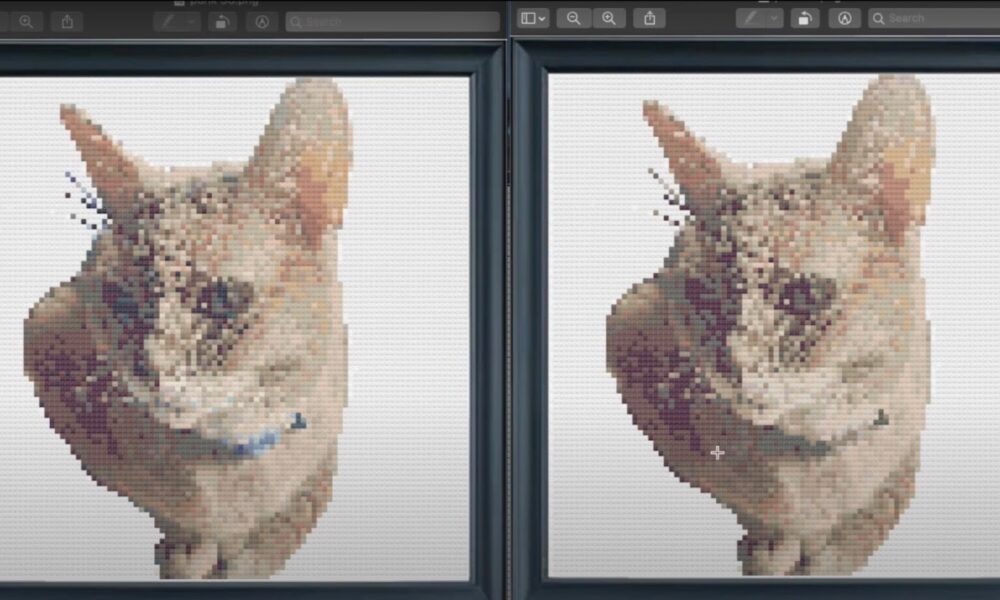
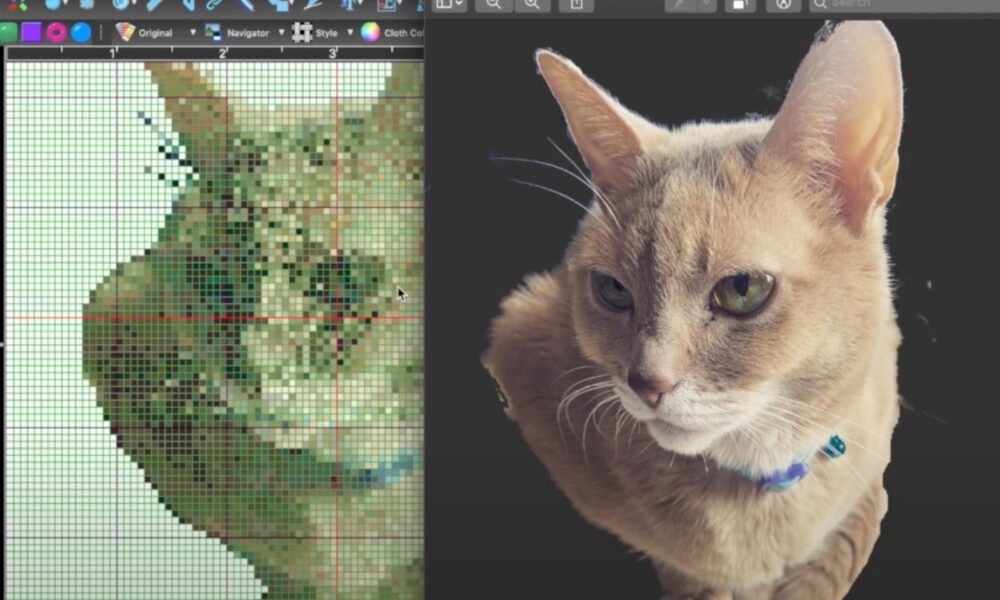
Once you have your color palette established, the next step is to generate the cross-stitch chart based on your modified photo. This involves using specialized cross-stitch pattern software that can interpret the grayscale image and color palette to produce a chart with symbols representing each stitch.
Cross Stitch Pattern Software
There are several software options available specifically designed for creating cross-stitch patterns from photos. Some popular choices include:
- PCStitch;
- KG-Chart;
- MacStitch.
These programs allow you to import your modified photo and color palette, and then automatically generate a cross-stitch chart based on your specifications.
Manual Chart Creation
If you prefer a more hands-on approach, you can create the cross-stitch chart manually using graph paper or specialized cross-stitch design paper. This method involves carefully plotting each stitch based on the grayscale image and color palette, providing a more personalized touch to your pattern creation process.
Gathering Materials and Starting the Project
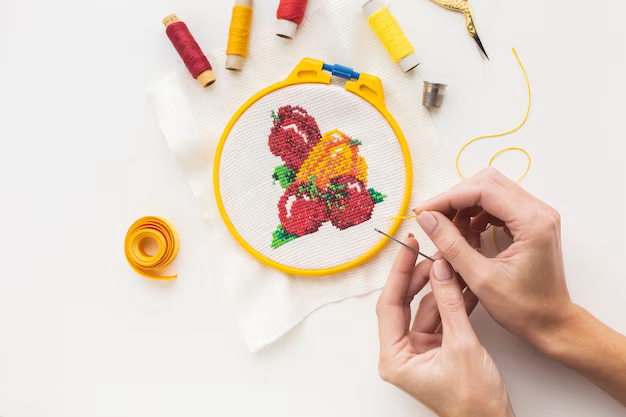
With your cross stitch chart in hand, it’s time to gather the necessary materials and embark on your cross stitch project. Here’s a basic list of materials you’ll need to get started:
- Aida fabric or cross stitch canvas;
- Embroidery hoop;
- Embroidery floss in the colors specified by your pattern;
- Tapestry needles;
- Scissors;
- Pattern chart (printed or digital).
Before beginning your project, familiarize yourself with the basics of cross stitch if you’re new to the craft. There are numerous tutorials and guides available online to help you master the fundamental techniques.

Stitching Your Photo-Inspired Design
As you begin stitching your cross stitch pattern, take your time to ensure accuracy and precision. Refer to your pattern chart frequently to guide your stitching, and double-check the colors and placement of each stitch to maintain consistency with your original photo.
Tips for Success
Here are a few tips to keep in mind as you work on your cross stitch project:
- Organize your embroidery floss using bobbins or other storage solutions to prevent tangling and make it easier to find the colors you need;
- Use a hoop or frame to keep your fabric taut while stitching, which helps maintain even tension and produces neater stitches;
- Take breaks as needed to avoid eye strain and fatigue, especially when working on intricate details.
By following these tips and staying patient and focused, you’ll gradually see your photo-inspired cross stitch pattern come to life with each stitch.
Conclusion
Turning a photo into a cross stitch pattern is a creative and enjoyable process that allows you to transform cherished memories or captivating images into unique works of art. With careful selection, preparation, and execution, you can create stunning cross stitch patterns that capture the essence of your chosen photos. Whether you’re drawn to landscapes, portraits, or abstract compositions, the possibilities for creating personalized cross stitch designs are virtually limitless. Embrace the journey of crafting your own cross stitch patterns, and enjoy the satisfaction of bringing your favorite photos to life through this timeless needlework technique.
FAQs
Yes, you can turn almost any photo into a cross stitch pattern, but it’s important to choose a photo that meets specific criteria for the best results. High-resolution, well-lit, and simple composition photos work best for this purpose.
You can manually create a color palette by visually inspecting the grayscale image and selecting appropriate thread colors. Alternatively, there are online tools and software programs available such as Adobe Color CC, Coolors, and Palette Generator that can assist in generating a color palette based on the grayscale image.
While specialized cross stitch pattern software like PCStitch, KG-Chart, and MacStitch can automatically generate a cross stitch chart based on your specifications, you can also create the chart manually using graph paper or specialized cross stitch design paper if you prefer a more hands-on approach.
To start a cross stitch project based on a photo, you’ll need Aida fabric or cross stitch canvas, an embroidery hoop, embroidery floss in the colors specified by your pattern, tapestry needles, scissors, and a pattern chart (printed or digital).
